

While there are tons of cool gizmos that can make your next hike safer, easier, and more enjoyable, you don’t really need a lot of gear to go hiking.
That’s actually a significant part of the hobby’s appeal.
But you do need a few key things, including a good pair of hiking boots and some comfy socks. You also need appropriate clothing, a water bottle (or two), and perhaps a small daypack.
But many new hikers wonder about water treatment. Do you really need a water filter to go hiking?
Unfortunately, the answer is pretty frustrating: maybe.
Don’t worry — we’ll explain everything you need to know below.
Table of Contents
Water Treatment Is Not Optional in the Backcountry
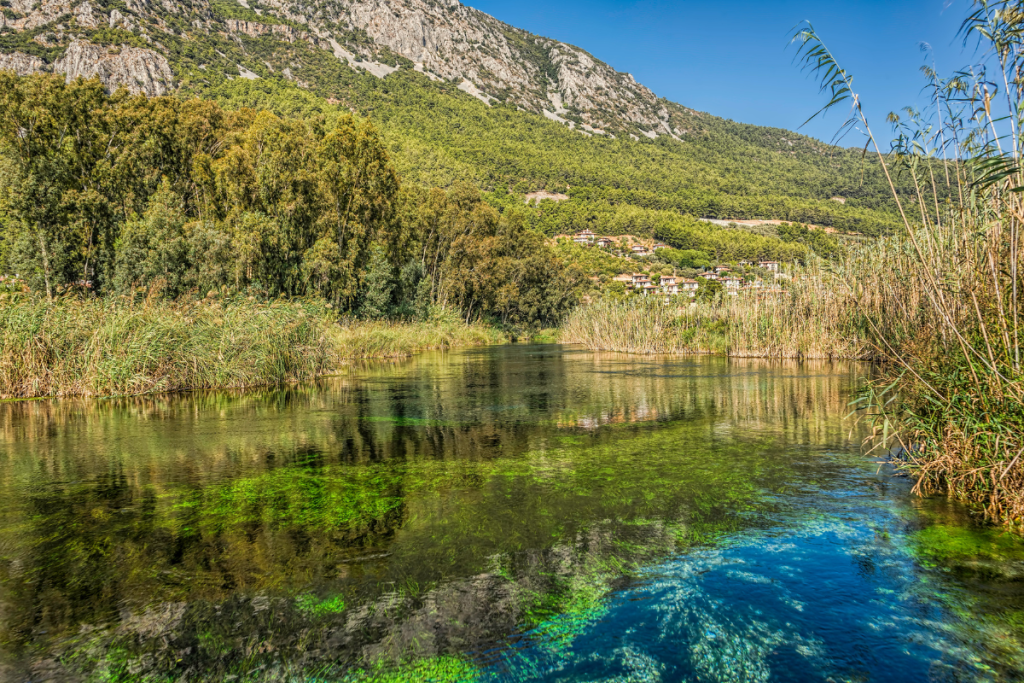
Deciding whether you need a water filter for hiking requires careful thought, as some hikers should carry a water filter, while others can probably just bring enough water from home.
But let’s be clear about one thing: You must treat all backcountry water before drinking it.
That crystal-clear creek trickling down the mountainside may look inviting, but looks can be deceiving. In fact, most of the dangerous things lurking in untreated water are invisible to the naked eye anyway.
Many novice hikers think that because these backcountry water sources are located in natural areas, they are safe to drink. But while they probably haven’t been polluted by things like road runoff or industrial waste, they may still contain a variety of dangerous pathogens – Mother Nature creates plenty of things that can make you sick.
So, while you may or may not find it necessary to carry a water filter on your next day hike, you should definitely avoid drinking untreated water on the trail.
Do Hikers Need Water Filters?
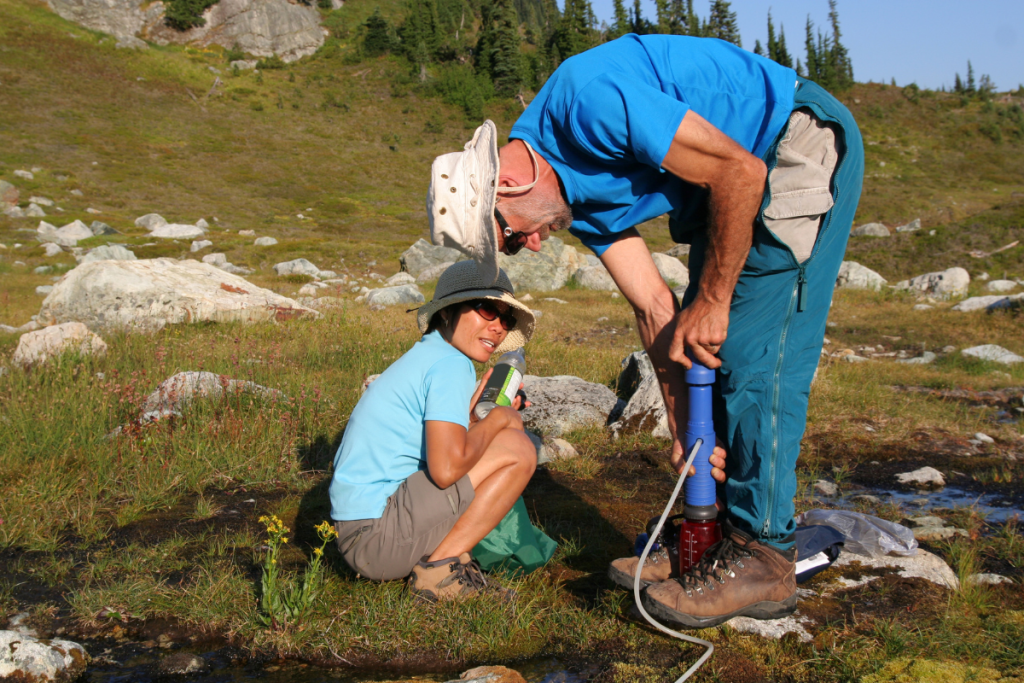
While it’s true that you must treat water before drinking it in the backcountry, that doesn’t mean that you necessarily have to bring a water filter. You may very well be able to carry more than enough water to satisfy your needs.
To decide whether you should buy a water filter and store it in your pack, consider the following:
- How long are your hikes? If your hikes are in the 1- to 2-mile range, you can easily carry enough water to keep yourself well hydrated. It takes somewhere in the neighborhood of an hour to hike two miles, and you need about half a liter of water per hour on the trail. So, you could likely carry twice as much water as you are likely to need without much trouble.
- How remote is the location? It’s always important to consider what will happen if something goes wrong, such as accidentally breaking your ankle on a hike. If you’re in a remote area, it may be quite some time before help arrives, meaning that you may need a filter to replenish your water supply. But if you’re in a suburban park with plenty of foot traffic, you probably don’t need to worry about your long-term water needs.
- How do you feel about pack weight? Water weighs about 2 pounds and change per litter (plus the weight of the bottle), so it is important to think about how much you want to carry with you. If you don’t mind adding a few more pounds to your pack, you can simply carry as much water as you need and forego a filter entirely. But if you’re trying to keep your pack weight low, you’ll be better served by bringing a water filter instead of extra water.
Of course, there are plenty of other things to consider before making a final decision about whether you need a water filter for hiking. Are water sources even available near the trail? How many people are you hiking with? Do you have other ways to treat water to make it safe?
But the three primary considerations discussed above are the most important factors to consider.
Types of Water Filters for Hiking
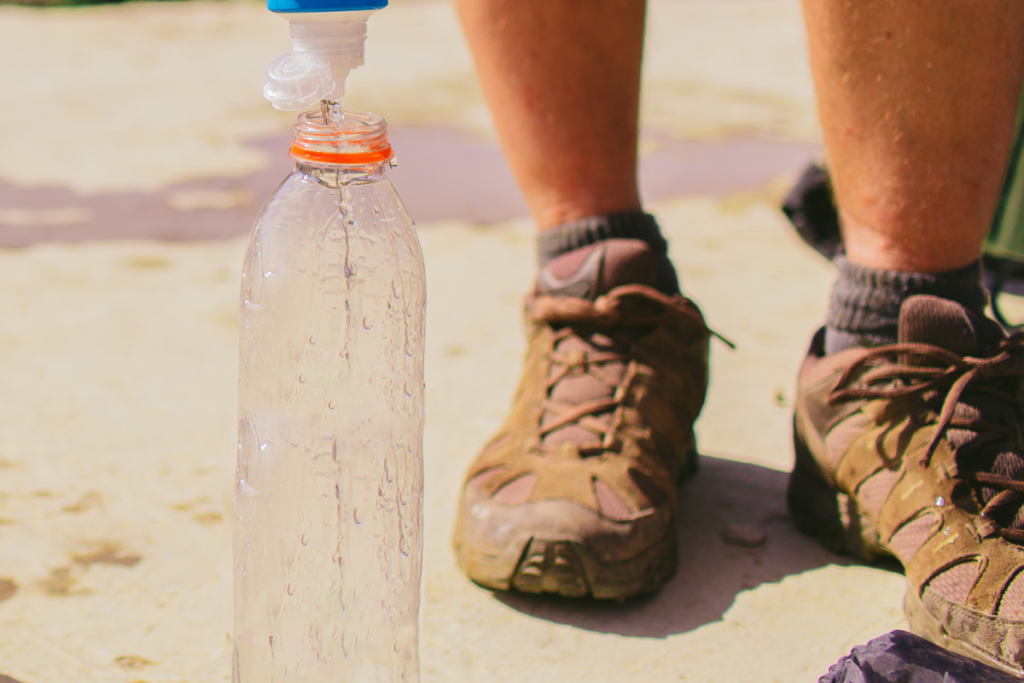
There are scads of different water filters for hiking offered by manufacturers and retailers. But while options are often a good thing, the sheer number of models on the market can often leave the beginning hiker’s head spinning.
We’ll try to really simplify things, so you’ll know where to begin your search. But the tricky part is that water filters can be categorized in several different ways. For starters, you can group water filters by the manner in which they treat water:
- Mechanical Filters: These types of filters work by forcing water through some type of perforated membrane (typically made from ceramic or carbon). The holes are small enough to block the passage of many bacteria and protozoa, which are retained in the membrane. These filters are also useful for removing particulate matter, such as silt particles.
- Chemical Filters: In hiking contexts, the term “chemical filters” is used in a few different ways. It is most often applied to filters that include a carbon filter, which bonds with chemicals that may be in the water. These types of filters also tend to improve the taste of the water. However, others use the term to refer to water treatment tablets, which are used to kill a variety of pathogens, including many viruses.
- UV Filters: These filters use UV lights to damage the DNA of bacteria, viruses, or protozoa, thereby rendering them dead or inactive. UV filters do not work well in cloudy water, as the particulate matter may block the light rays. They also require batteries (read: additional weight) to work.
In practice, most hiking filters treat water mechanically. This has an important ramification: Because viruses are positively tiny, most mechanical filters are incapable of removing them (a few can filter out viruses, but they’re quite expensive).
So, if you are concerned about viruses, it is generally necessary to utilize two filtering techniques. You’ll want to use some type of mechanical filter to eliminate the bacteria, protozoans, and particulate matter, and then use a UV filter or chemical tablets to neutralize any viruses present.
Treatment-technology aside, you can also categorize hiking water filters by the way they function or are used. The basic options include:
- Pump Filters: Pump filters feature some type of lever, which you must pump to force water through the filter. Pump filters are generally pretty light, but it can be tiring to pump large quantities of water.
- Squeeze Filters: These types of filtration systems generally feature one or two bags (one for untreated water and the other to collect the treated water) and a filter that goes in the middle and connects to each. Once you fill the first bag with untreated water, you simply connect the filter and the other bag (or a water bottle, in some cases), and then squeeze the bag to force the water through the filter.
- Gravity Filters: Gravity filters usually come with two bags – you fill one with untreated water, then hang it on a tree. Gravity forces the water through a filter and hose, and the second bag collects the now-treated water. These systems weigh more than pump filters, but they don’t require you to manually force the water through the filter.
- Built-In Water Bottle Filters: One of the easier and more convenient options available, these filters feature an internal filter that resides in a water bottle. To use this style of water filter, you simply fill the water bottle, insert the filter cartridge, and start sippin’. The water passes through the filter on the way to the spout.
- Drinking Straw Filters: The smallest and lightest option around, drinking straw filters are small, pen-like devices that allow you to suck water directly out of a water source. An internal filter cleans the water on its way to your mouth.
Backpackers and campers who will need to treat large quantities of water over several days’ time typically opt for pump or gravity filters – water-bottle filters and drinking straw filters aren’t as well-suited for this kind of use.
Meanwhile, day hikers, who probably won’t have to treat much water, generally opt for filtering water bottles or drinking straws to help save weight and space.
Choosing the Right Water Filter for Hiking: Considerations
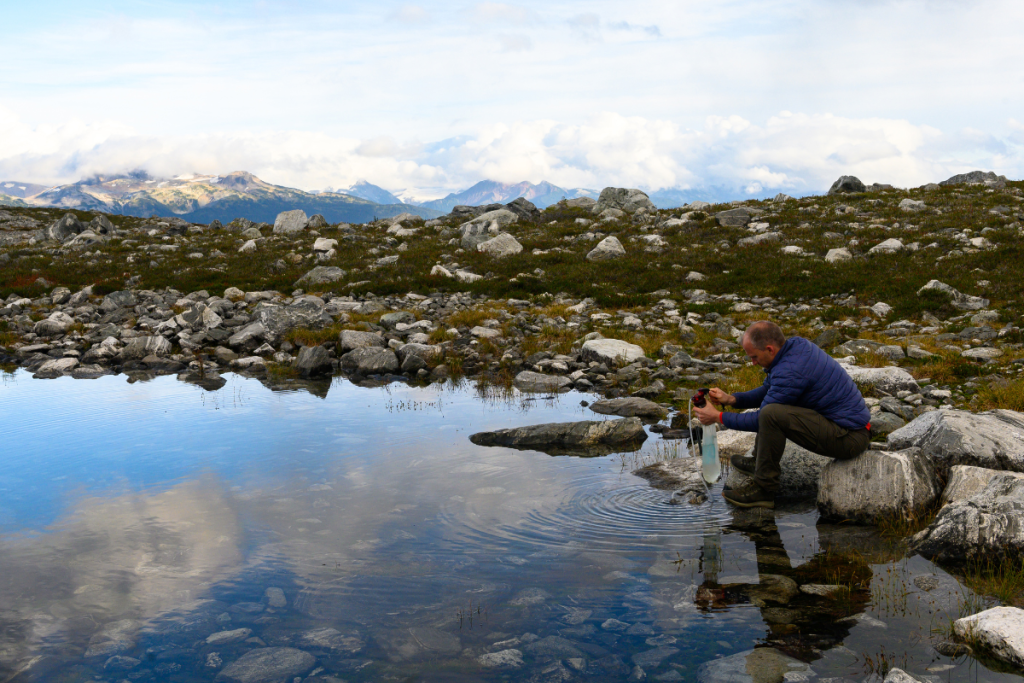
Hopefully, we’ve helped you narrow down the options quite a bit thus far. You probably want a water bottle or drinking-straw filter that utilizes mechanical filtration. And if you’re concerned about viruses, you’ll likely want to throw some chlorine or iodine tablets in your pack too.
But unfortunately, there are still a few other things you’ll need to think about when picking the perfect hiking water filter for your needs:
The Type of Water Source You’ll Be Using
If you’re planning on hiking next to a pristine mountain stream all day with very little sediment, you may be able to get away with a UV filter.
But if you’ll be collecting water from mud puddles or a cloudy lake, you’ll definitely appreciate a mechanical filter, which will help clean out some of this particulate matter. You could then use tablets or a UV filter to eliminate any potential viruses present.
The Filter’s Micron Size
Micron size refers to the holes or pores in the filter. Simply put, the smaller the holes, the more pathogens the filter will remove. However, this comes at the expense of filtration output rate; the smaller the holes, the longer it takes to treat a given quantity of water.
Most hiking filters have pore sizes ranging between 0.2 and 1 microns. One-micron pores will eliminate most cooties, except for viruses, but 0.2 microns is considered the standard for hiking filters. Many viruses will still slip through 0.2-micron pores, but there are high-end models available with 0.03-micron pores, which are capable of filtering viruses.
The Filter’s Output Rate
Different filters are capable of treating water at different rates. Models with low output rates may only be capable of treating half a liter per minute, while high-flow pump-style filters may be capable of treating 3 liters or more per minute.
Just consider your likely needs when making a choice. For example, if you’re hiking with a group, you’ll need to filter a lot more water than you would if you only have to filter water for your own needs.
The Filter’s Weight (and the Space It Takes Up)
Very lightweight filters may only weigh about 2 ounces or so, while larger filters (especially those with ceramic filter systems) may weigh 16 to 20 ounces or more. Most hiking water filters are designed to break down into small pieces or collapse to make them easier to store in a pack, but the actual space they will take up varies.
Water bottle filters help save space, as you’d be carrying a water bottle anyway. Straw-style filters can save even more space if you don’t feel the need to carry a water bottle, but they aren’t always convenient to use.
The Filter’s Lifespan
All filters eventually stop effectively treating water (carbon and mechanical filters may become completely clogged), so it is important to think about the lifespan of any filter you consider. Some will only treat a few hundred gallons of water, while others can treat thousands of gallons.
Simply put, the more money you invest in the filter, the longer you’ll likely want it to last.
How Easy the Filter Is to Use
Gravity-fed water filters are typically one of the easiest hiking filters to use, as you can simply set them up and let gravity do the work. Water bottle filters are also super easy to use, although it can require quite a bit of force to put some models together.
In many respects, pump-style water filters require the most effort to use, but it is important to consider that drinking straw filters will require you to lay on the ground, which isn’t always fun.
The Cost of the Filter
There’s not much to be said here that you don’t already know. High-end units will cost more money, but they’ll generally be more effective and last longer. The most important thing to consider with respect to price is the likelihood that you’ll use it often.
If you’re just buying a water filter for emergency use, you probably don’t need to spend a fortune on it. Don’t pick a bargain basement model that’ll likely break when you need it, but don’t feel the need to buy a model designed for frequent use, either.
Water Filters for Hiking: Recommendations
We get it – this is all useful information, but you really just want a water filter to take on your next hiking trip. No problem, here are a few of the best options for different kinds of hikers and situations:
Best Overall Hiking Water Filter: Sawyer Squeeze Water Filter System
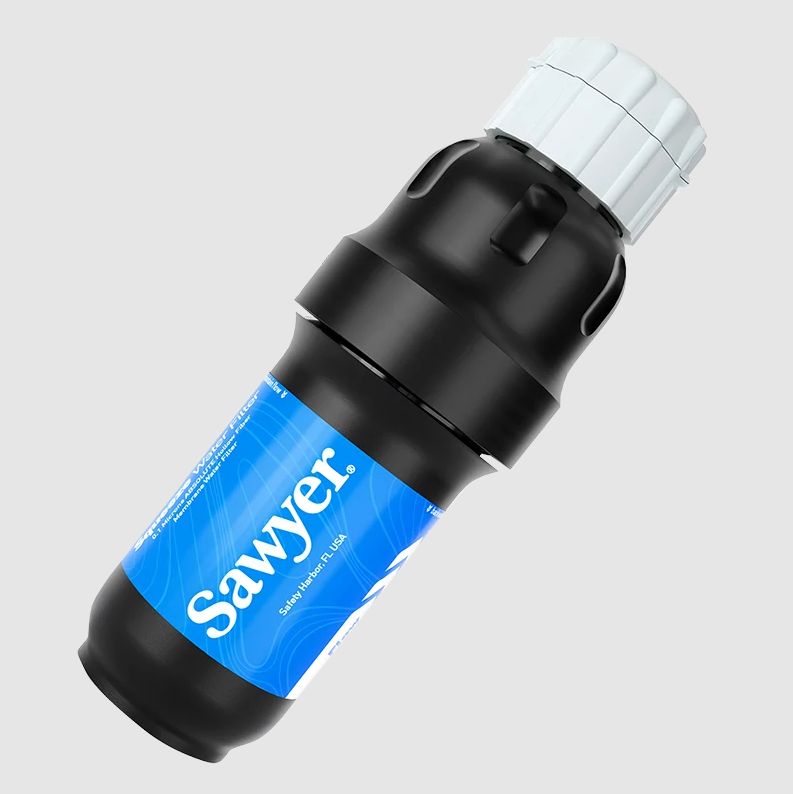
Though it may look a bit odd old timers who’re used to pump-style filters, the Sawyer Squeeze has become one of the most popular options among hikers and backpackers. Given that it is affordable; effective at eliminating bacteria, protozoans, and particulates; and exceptionally easy to pack, it’s easy to see why so many outdoor adventures are opting for this model.
Did we mention that it only weighs 3 ounces and filters about 1.7 liters of water per minute? What about the fact that it can be used as a gravity filter if you like? And for bonus points, the filter threads will fit on most disposable water bottles.
It really is the best option for most hikers.
Featuring two flexible mylar pouches and a filter unit that is attached between the pouches, the Squeeze is super easy to use – simply fill one bag and squeeze it to force water through the filter. You can even discharge the water directly into your water bottle (or your mouth) if that’s more convenient.
What about its downsides? Well, like other mechanical filters, it doesn’t eliminate viruses. But that’s really about it. Give it a try – at $40 and change, you really don’t have much to lose.
Best Emergency Hiking Water Filter: LifeStraw Personal Water Filter
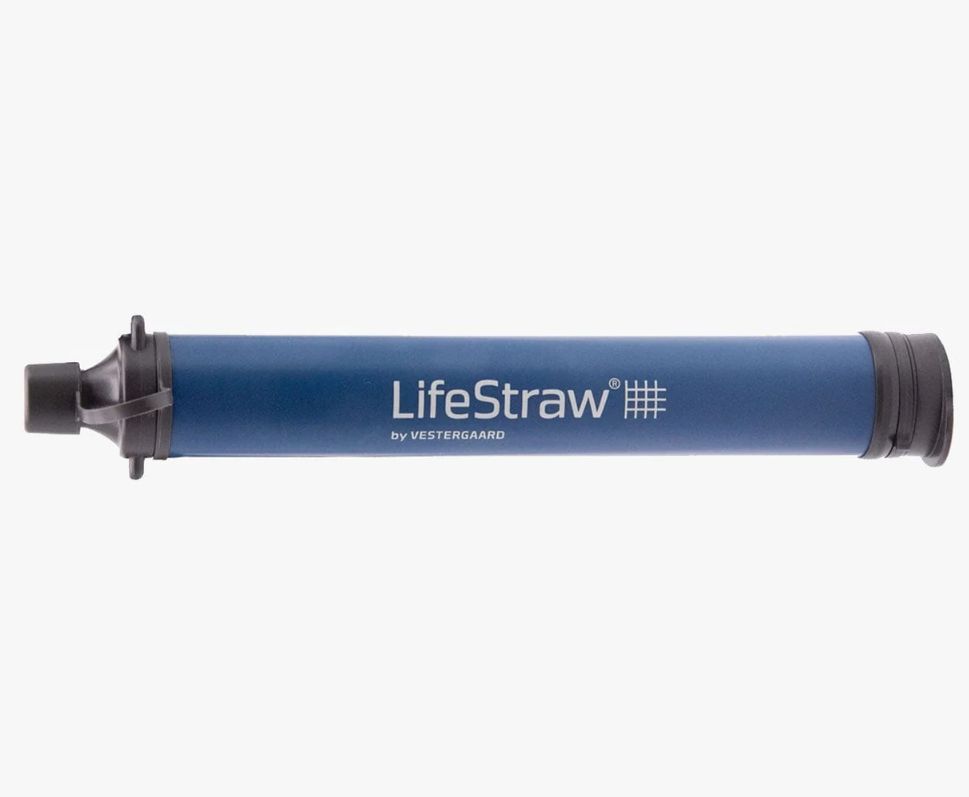
Drinking-straw water filters aren’t super convenient to use, and they aren’t helpful for filling containers. But their weight- and space-saving characteristics make them very attractive backup or emergency options.
The LifeStraw Personal Water Filter is the leading option in this category, as it is not only affordable (it costs about $15 or so), but it is also effective and designed to last for quite a while; each one can filter 4,000 liters of water before replacement.
As a bonus, the manufacturer provides clean drinking water for a student in need for every LifeStraw sold.
Best Lightweight, Pump-Style Hiking Water Filter: Katadyn Hiker Microfilter
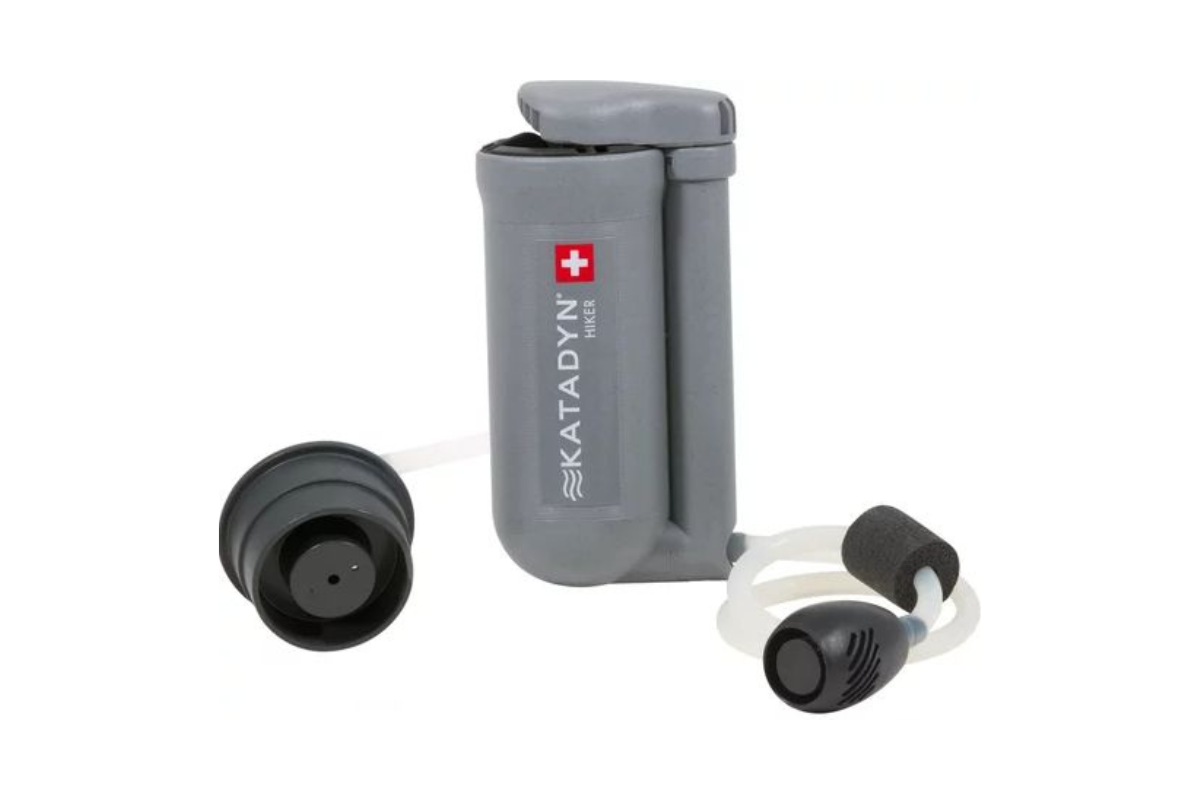
If you just like the idea of a pump-style filter, it’s hard to beat the Katadyn Hiker. Weighing about 11 ounces, it is light enough to toss in your pack, and unlike many of the other filters discussed here, it contains an activated-carbon core that adsorbs chemicals and pesticides, which not only makes the water safer to drink, but it can also improve its taste too.
This model will treat roughly 1 liter of water per minute, but you’re going to have to pump the handle about 48 times to accomplish this. And that (along with its slightly expensive price tag of around $100) is the primary drawback to this filter.
Best Gravity-Fed Hiking Water Filter: Platypus GravityWorks Water Filter System
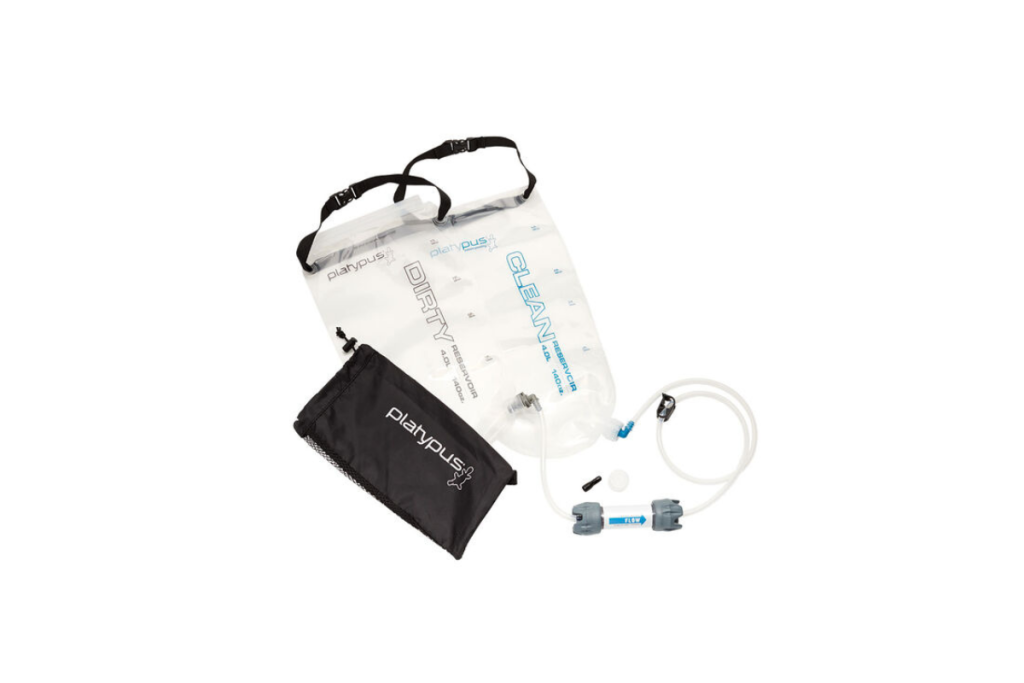
If you’re concerned that you may need to treat a significant quantity of water, a gravity-fed system may be your best bet. There are a number of gravity-fed water filters on the market, but the Platypus GravityWorks is easily one of the best options.
The GravityWorks is compatible with a number of different reservoirs, and it doesn’t require you to pump or squeeze anything at all; simply fill one reservoir, hang it from a tree, connect the other reservoir, and wait for gravity to do the rest. Two and a half minutes later, you’ll be staring at 4 liters of treated water.
With a weight of only 11.5 ounces, it’s also easy to store in your pack.
Best UV Hiking Water Filter: Katadyn Steripen Ultra UV Water Filter
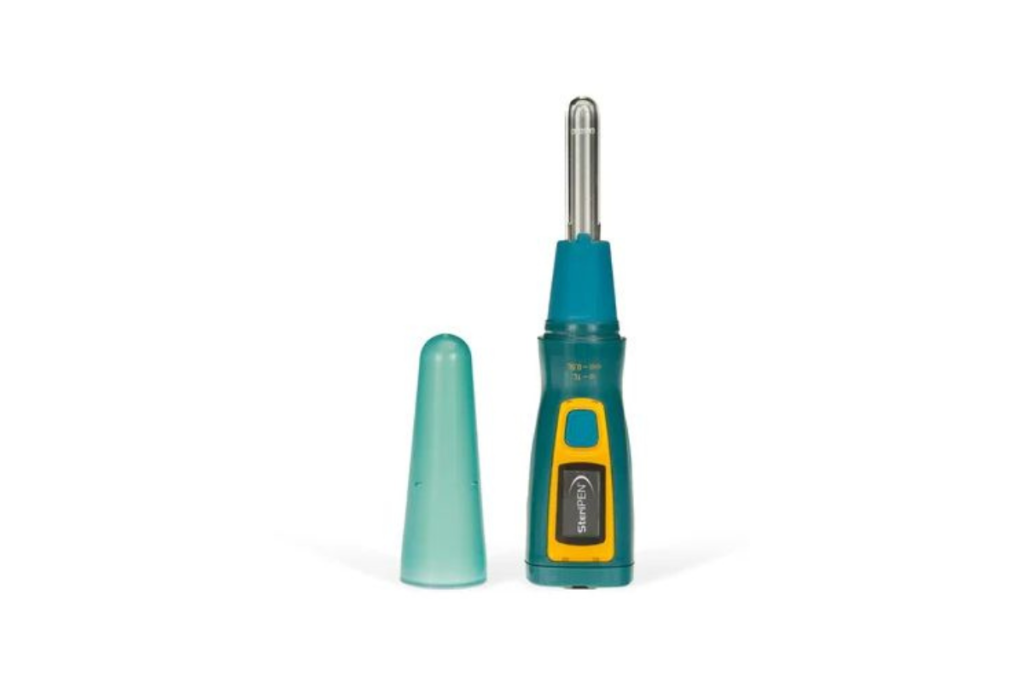
If you’re concerned about viruses or just want to avoid the need to pump or squeeze anything, the Katadyn Steripen Ultra is a great option. To use it, you simply put the tip in a 1-liter water bottle, press the button, and gently stir the water. About 90 seconds later, your water is ready to drink.
This device does require an (included) USB-rechargeable battery, which is worth considering – you can’t just drop this thing in your pack and expect it to work two years down the line, when you find yourself in a predicament. But it remains an excellent option for many hikers, especially considering its sub-5-ounce weight.
Bonus Option: Katadyn Micropur Purification Tablets
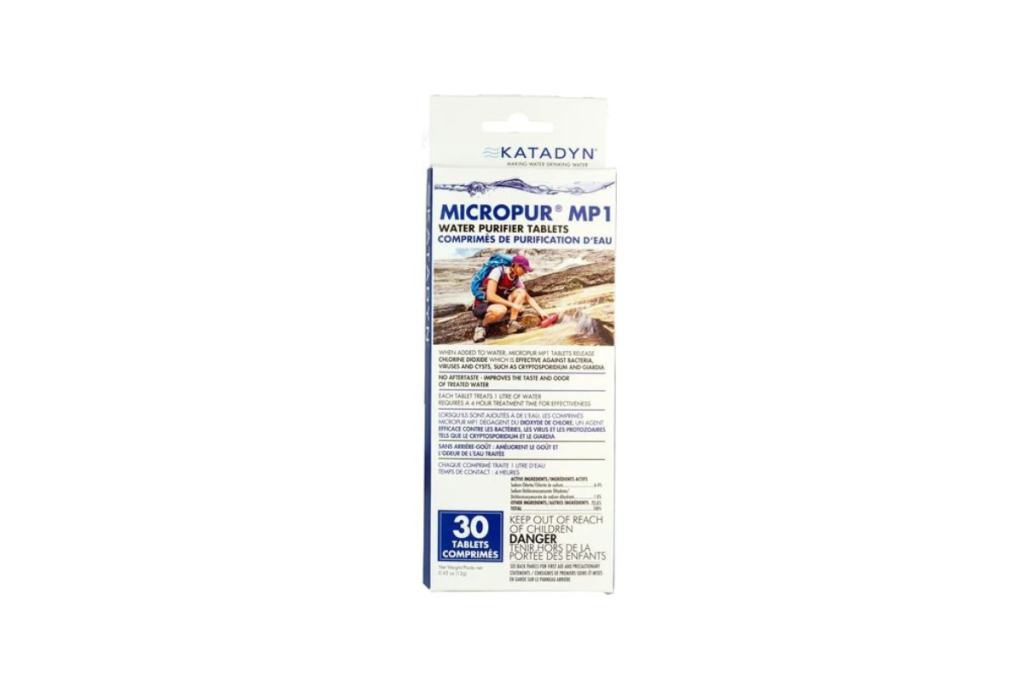
Whether you frequent areas where particulates aren’t a big deal, you want a way to deal with potential viruses in already-filtered water, or you just want a great backup water treatment solution, it’s never a bad idea to toss some Katadyn Micropur Purification Tablets in your pack.
Each package costs about $15 and is capable of treating up to 30 liters of water. They’re also easy to use – simply drop the one tablet in a liter of water and then wait. But therein lies the downside: You have to wait four hours before the water is safe to drink.

We hope that this information all proves useful for you, and that you feel comfortable buying one of the hiking filters listed above (assuming you feel one is necessary for your typical hiking trips).
Personally, the majority of my hikes are limited to suburban areas, and I don’t mind lugging 4 liters of water if need be. So, I don’t typically bring a water filter when hiking. But camping trips are obviously a different story, and I never leave my Sawyer Squeeze behind.
Let us know whether you feel like a water filter is an important part of your day-hiking kit in the comments below. We’d also love to know which model you use. Do you have any experience with the water filters listed above?


